 Beetle Robot No programming, no micro controller
I was inspired by this Instructable http://www.instructables.com/id/How-to-Build-a-Robot-The-BeetleBot-v2-Revisite/Good way of introducing yourself to robotics without any coding or programming.
This robot uses 2 motors, 2 batteries and 2 switches, rest is all decorations. For full explanation in details refer the the link above. I did not get all parts where I lived to improvised as much I could
What do we need
1. Two Motors
2. Battery Holder for 2 AA battery
3. Two Micro SPDT switch
4. Metallic Wires
5. Soft wires
6. One Beed of 10mm Dia with hole
7. Acrylic colors of your choice
8. PVC Cement Solution
9. Normal Switch
Tools :
1. Soldering Iron
2. Tapes
3. Hammer
4. Pliers
5. Heat Shrunk tube
I had many toy that My son broke. Little use of screwdriver and hammer and was able to extract 2 motors, free of cost
The battery holder is also from one of his toys.
We can Recycle many things form old toys.
Use metallic sheet / piece and bend over the battery holder.

Use Electric tape to fix the motors on this metallic sheet.
 Before we fix them, find out in which direction the motor turns, Mark the +ve using a marker. Note that the motors has to rotate in opposite direction
Step 2 : Antennas
I got the hard metallic wire from local hardware. They are very strong and do not lose shape
I used heat shrunk tube to make connectors to hold the hard metallic wire to the switch. The switch is delicate, so be careful not not break it while benind or fixing
Step 3: Stick them together
I initially tried using Hot Glue Gun, But it would not stick and even it does and very delicate
I used PVC cement solvent and it worked wonders, Used apply like any other glue and leave for few minutes
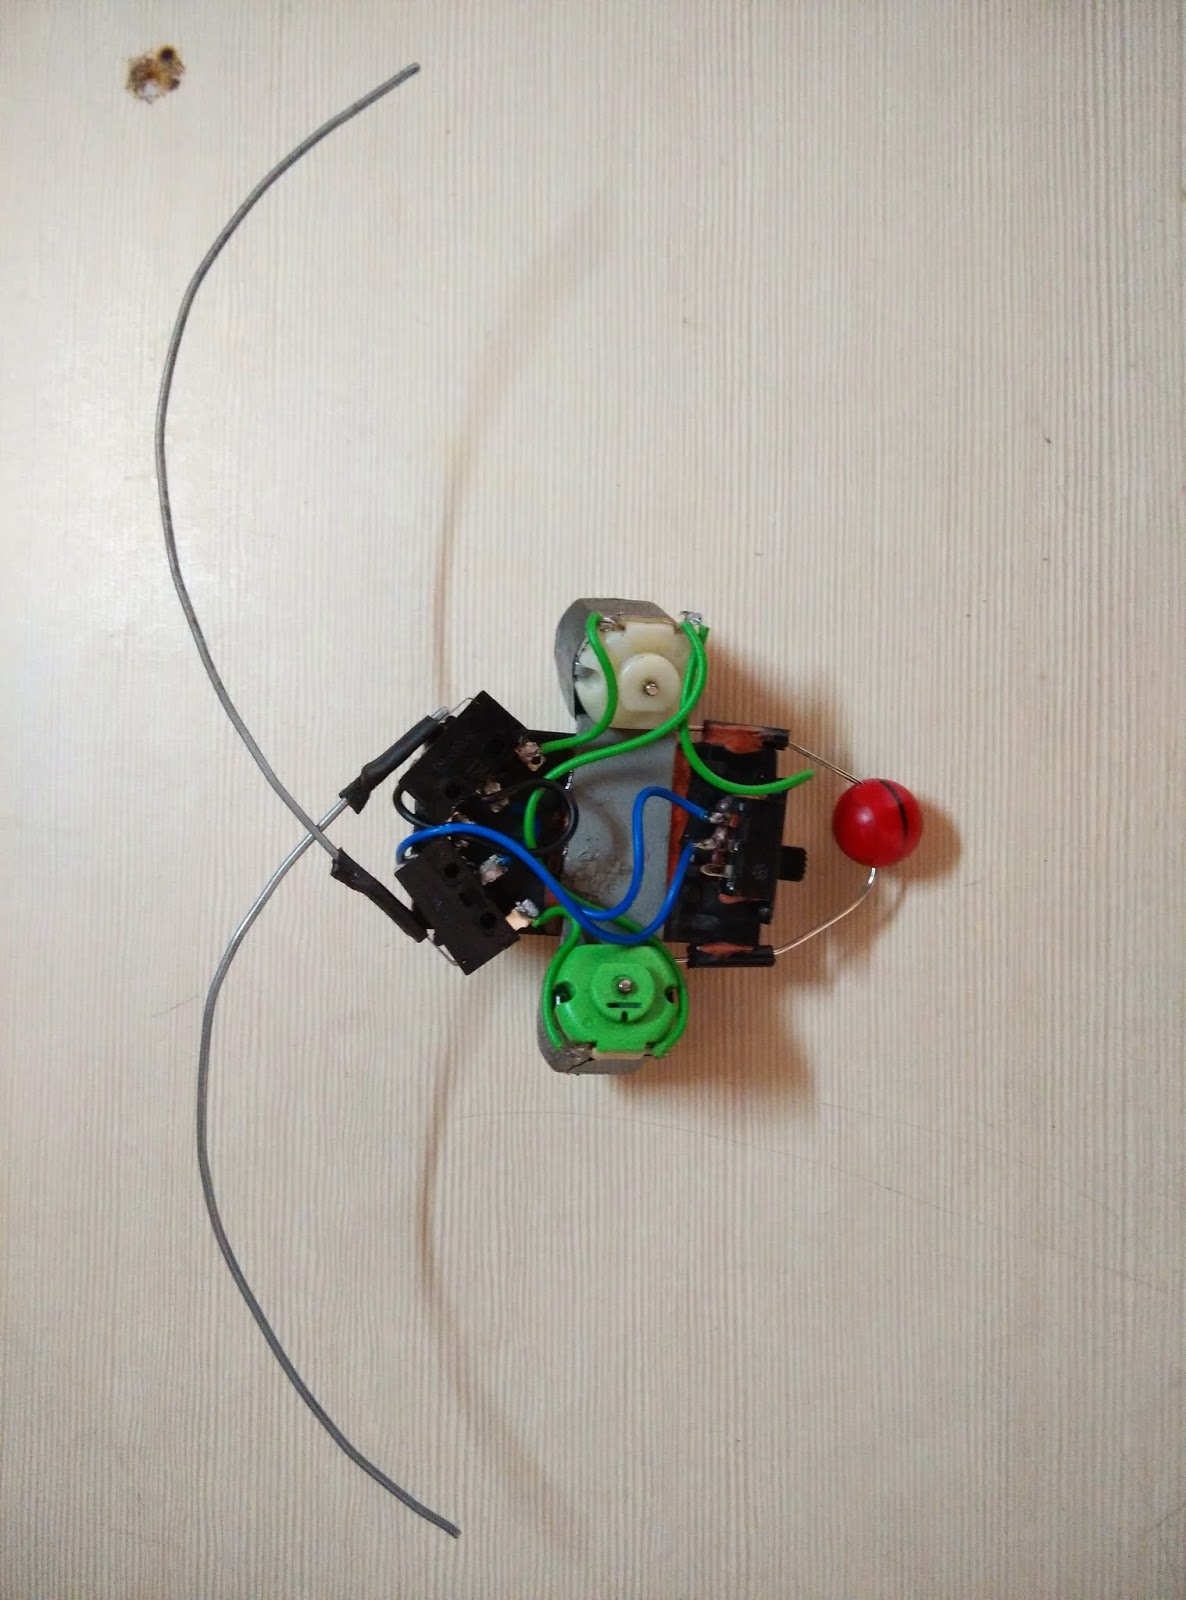
Step 4: SolderingUse a soldering iron, some soft wires to connect motors, switches etc as shown. I added a switch for ON/OFF. Not in this diagram, But can be seen in below picture
Step 5 ; Fix Antenna and small beed for balancing. If the motors ate incorrect, then just reverse the motor connections
Step 6 : Use old cold cream circular box and cut it as per needed. fix it using some double side tape
Paint is using Acrylic colors and play with the kids
Do some test runs before you fix the cover. Easy to change connections etc before


No comments:
Post a Comment